Hello,
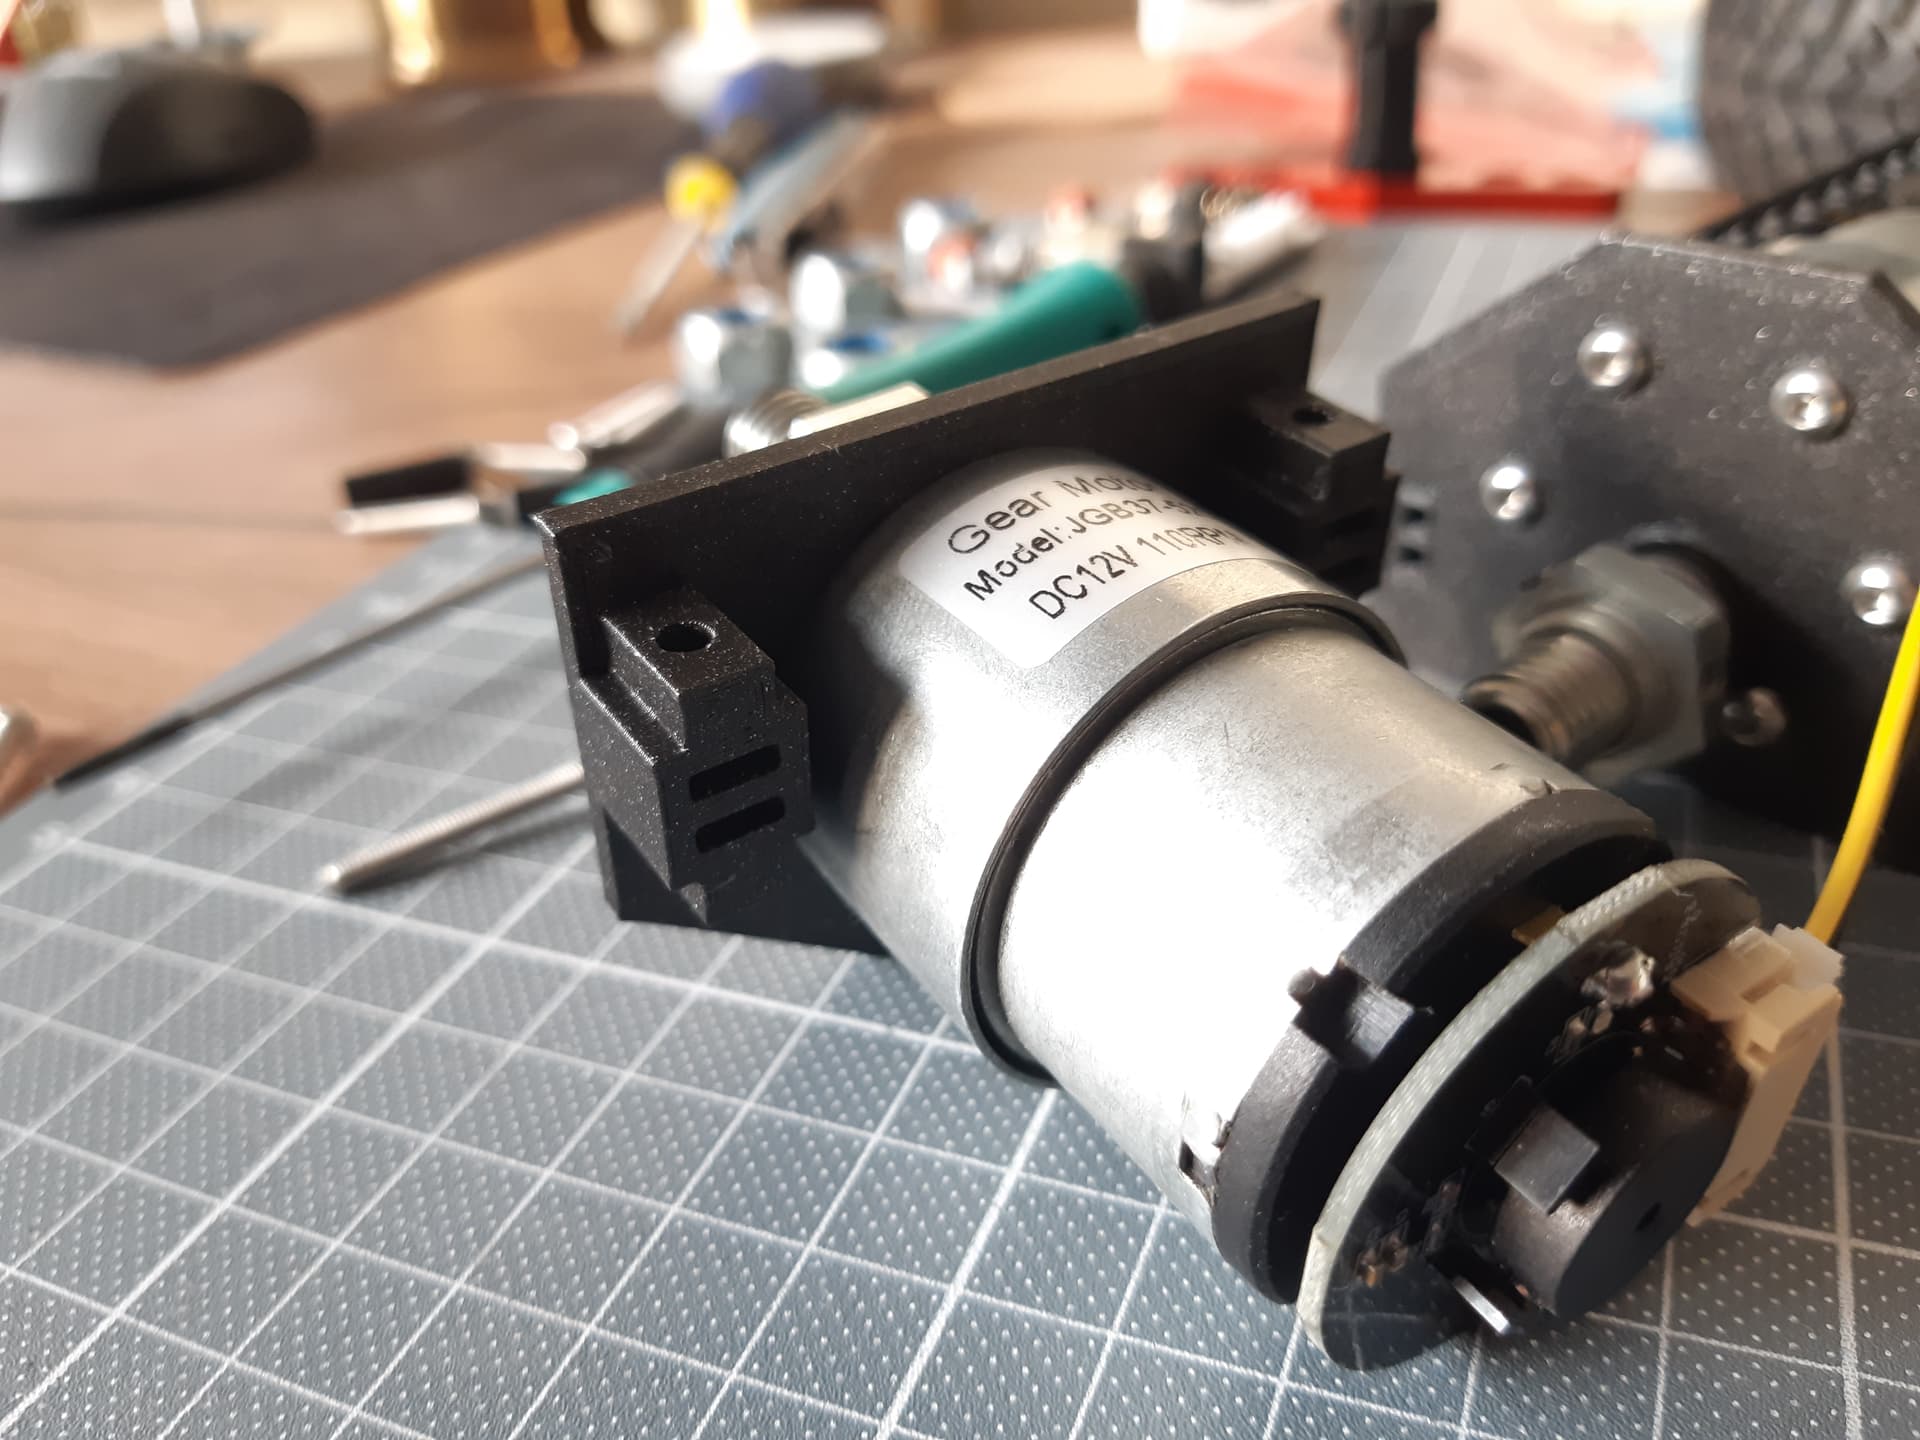
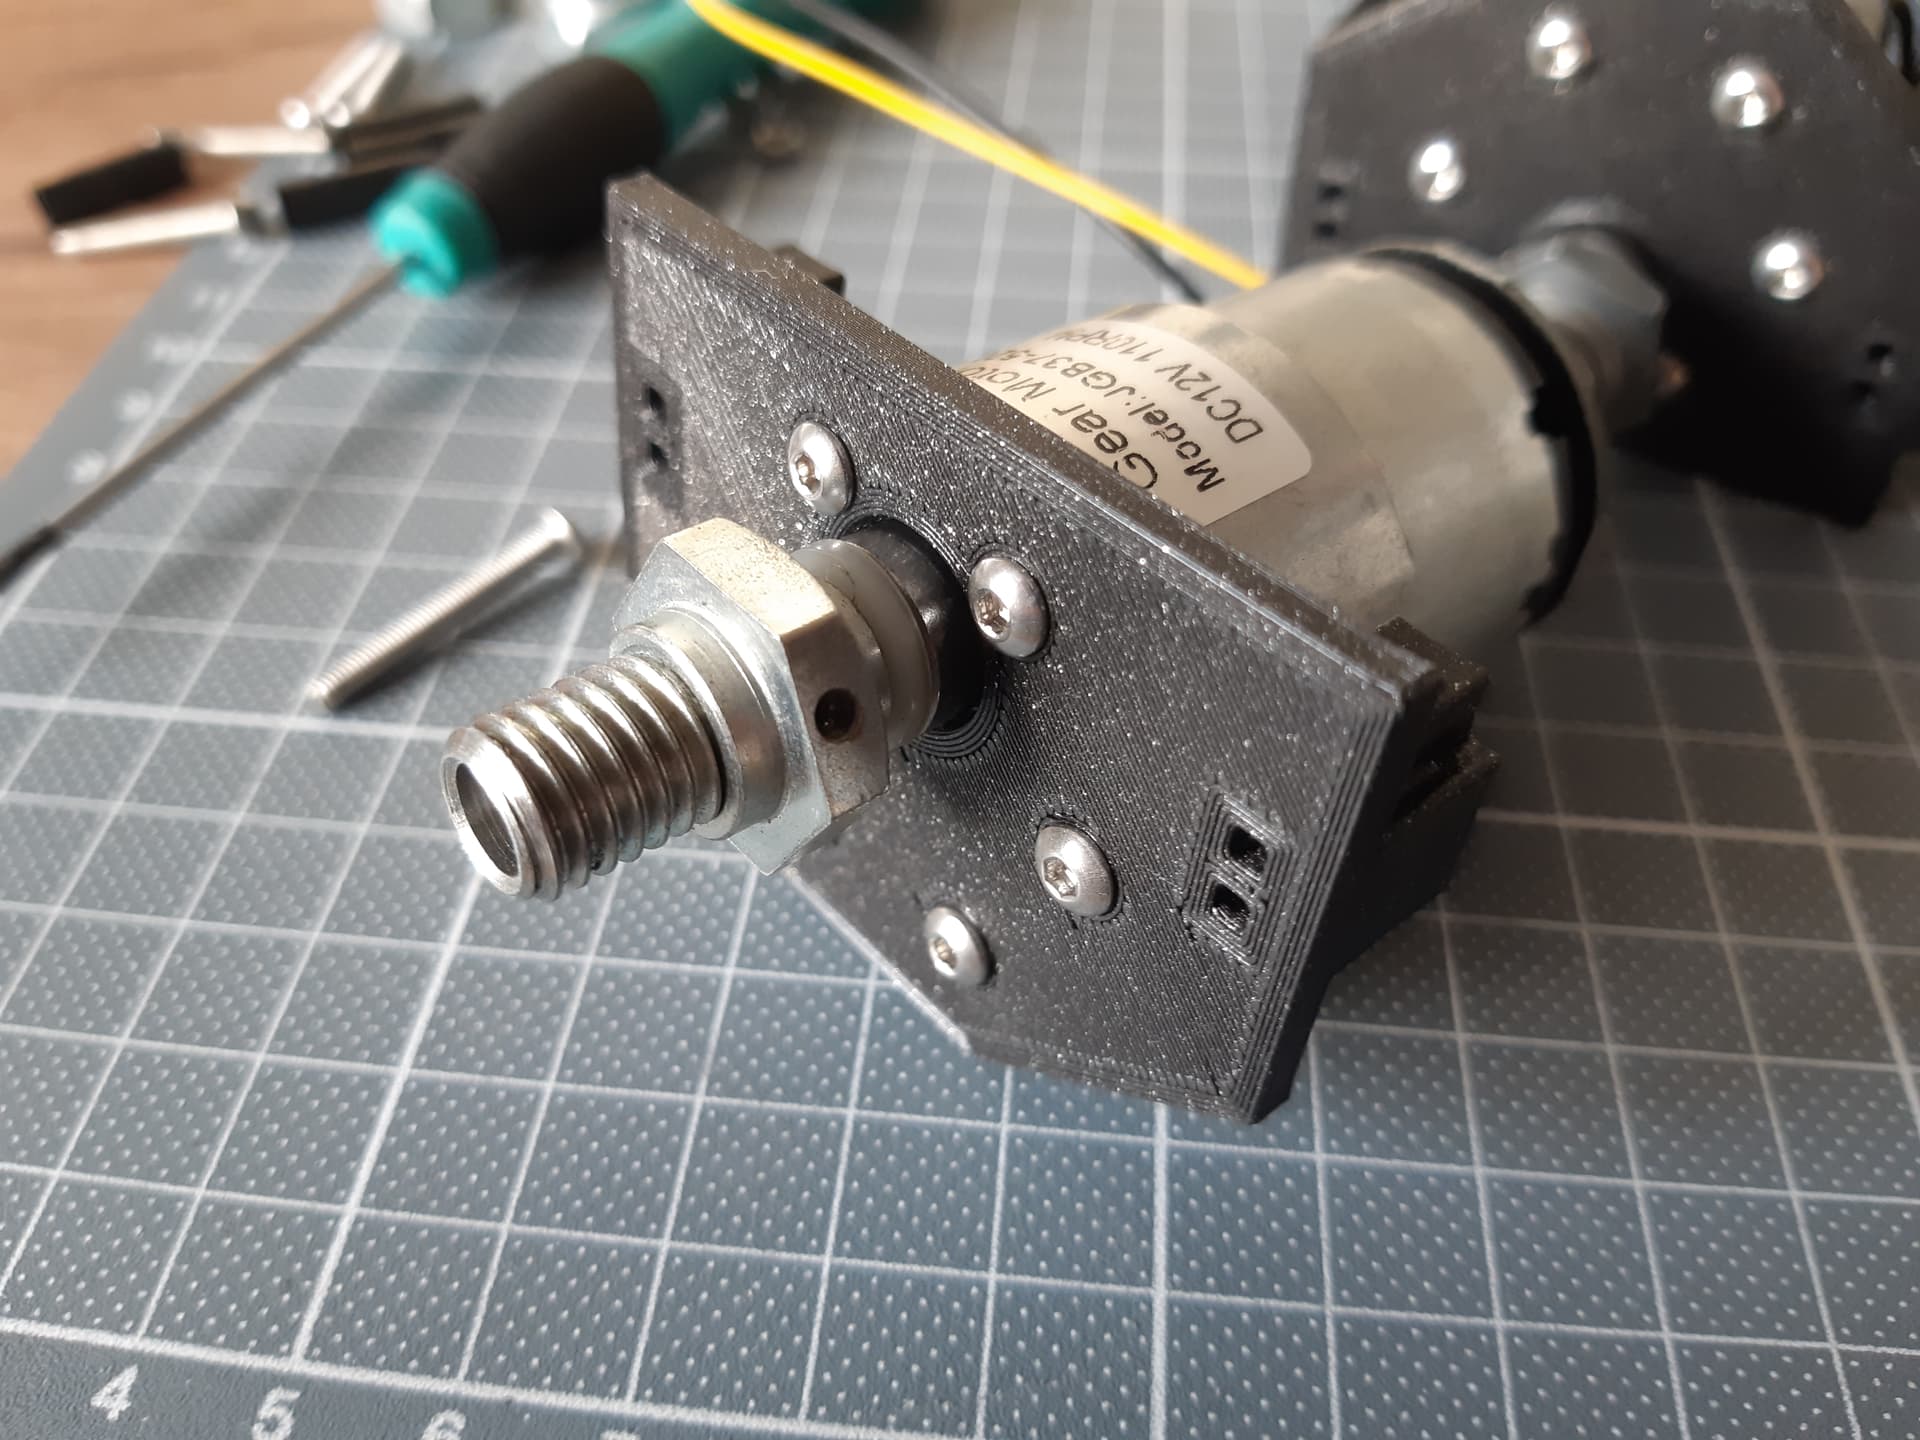
Here is first photo of my 4WD chassis from Totem parts. In this time is it only draft but may be it can inspired someone else 
Hello,
Here is first photo of my 4WD chassis from Totem parts. In this time is it only draft but may be it can inspired someone else
Wiring for first tests are done 
What I don’t know now is how to add all the motors to one joystick element in the application. I can use one joystick for the left side, the other for the right side and drive it like a tank, but one joystick for all directions would be better
Very nice! I like how this project looks like.
App controls should work the same as for “4WD car”. On Android Joystick widget seems broken when trying to mix X and Y axis and driving motors… It came from old days and haven’t been tested properly.
You can try different approach:
functionA for X and functionB for Y axis.App configuration:
Arduino code:
// Variables holding joystick position
int x, y;
bool updated;
// Forward declaration of motor direction calculation function
void updateMotors(int drive, int turn);
// Function called when joystick is moved in X direction
void eventFunctionA() {
  x = X4.functionA.get(); // Value sent to functionA (Joystick X)
  updated = true;
}
// Function called when joystick is moved in Y direction
void eventFunctionB() {
  y = X4.functionB.get(); // Value sent to functionB (Joystick Y)
  updated = true;
}
void setup() {
  // Start printing for Serial Monitor
  Serial.begin(9600);
  // Register event handlers for functions
  X4.functionA.addEvent(eventFunctionA);
  X4.functionB.addEvent(eventFunctionB);
}
void loop() {
  // Check if new value received from Joystick
  if (!updated) return;
  // Mark that value is read and wait for next event
  updated = false;
  // Update motors
  updateMotors(y, x);
  // Print updated joystick position
  Serial.printf("X: % 2d, Y: % 2d\n", x, y);
}
// Constant how much torque to apply when turning
int turnIntensity = 100;
// Calcuate and update motors power
void updateMotors(int drive, int turn) {
    // Validate input values range
    turn = constrain(turn, -100, 100);
    drive = constrain(drive, -100, 100);
    // Calculate turn intensity
    int intensity = turnIntensity + ((100-turnIntensity)*abs(drive)/100);
    turn = (turn*intensity)/100;
    // Calculate motors power
    int A = constrain(drive+turn, -100, 100);
    int B = constrain(drive-turn, -100, 100);
    int C = A;
    int D = B;
    // Update motors
    X4.dc.power(A, B, C, D);
}
Of course configure motor wiring and spin direction according to your robot.
Also, see your motors has encoders. Unfortunately board v.1.0 has limited GPIO functionality. If using v.1.1 revision board, you could hook encoders to GPIO and with additional coding - control exact motors speed (not only power).
Thank you so much for this example. Practically shown how universally Totem things work 
I tried it and it works fine. If the weather is good on Sunday, I’ll try to make a video.
I used encoder motors because they use the same connectors as the X4, so the connection was very easy, but yes, the real feedback is very practical for computer-oriented control, so I plan to try it.